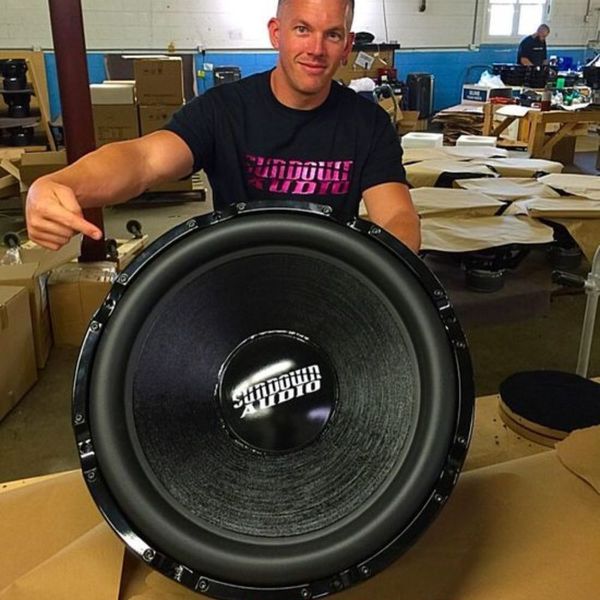
Hey there, bass heads! So, you're on the hunt for the loudest subwoofer box, huh? Well, you're in luck, because I'm here to help you find the perfect match for your ride.
Just like you, I'm all about that bass, so let's dive in and explore the world of subwoofer boxes together.
Now, before we get started, it's essential to understand that the "loudest" subwoofer box isn't the same for everyone.
What may be the best option for deep bass in your friend's car may not work as well in yours.
So, the first step is figuring out what's going to give you the loudest and cleanest bass in your specific vehicle.
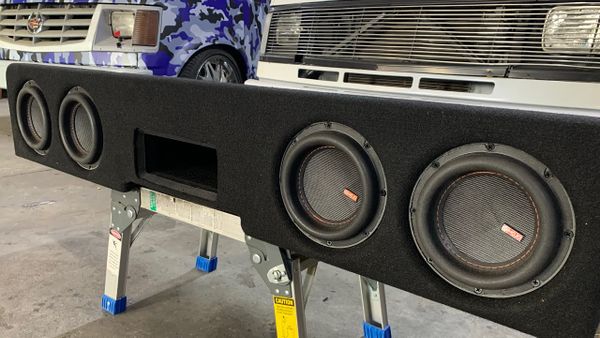
Types of Subwoofer Boxes
There are three primary types of subwoofer boxes: sealed, full ported sub-, and bandpass. Each has its unique characteristics that can affect sound quality and loudness. Let's break them down:
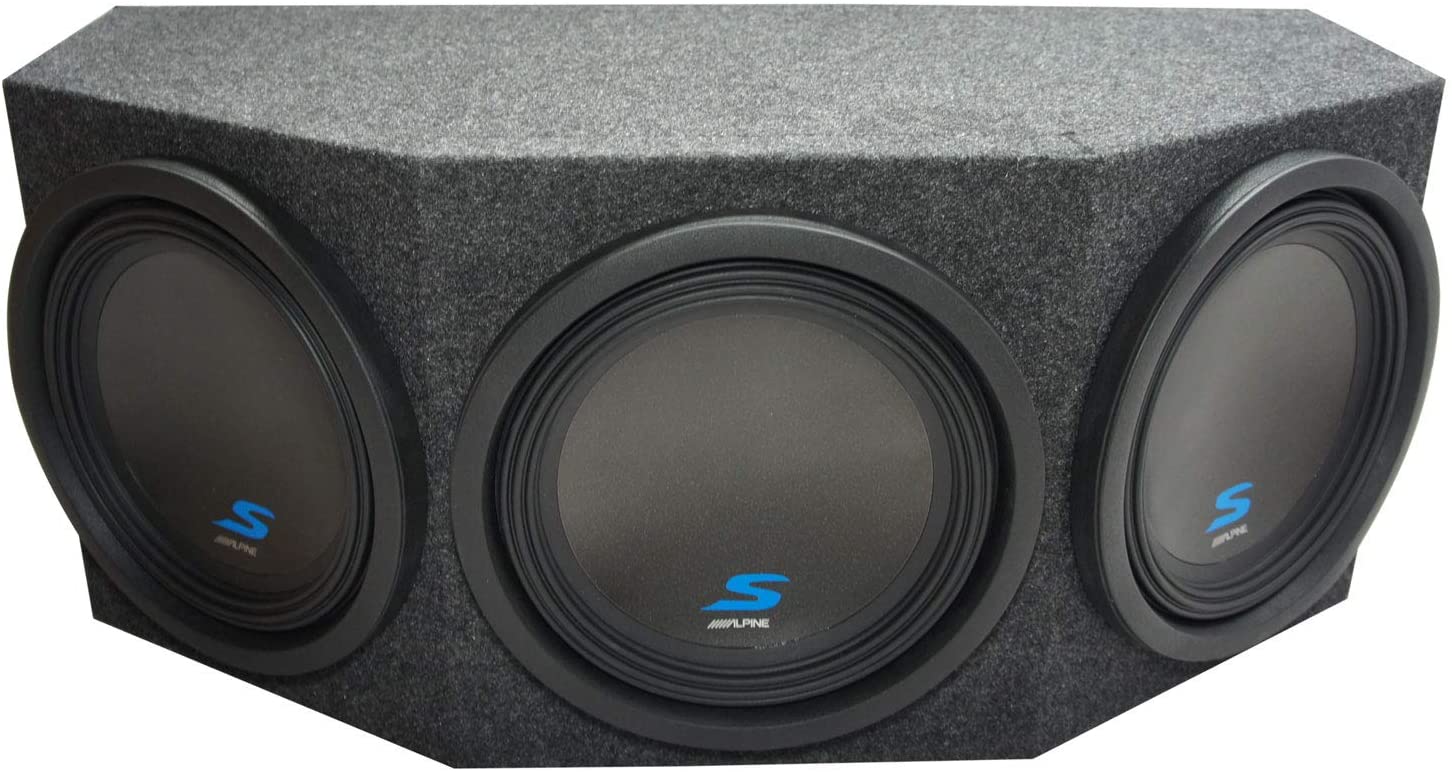
Sealed Box
Sealed Boxes are the most straightforward design, creating a tight and accurate bass response. These boxes are perfect for those who prefer sound quality over pure loudness.
They offer a smooth low-end response and tend to be more compact, which can be great if space is an issue. Building a sealed subwoofer enclosure can greatly improve the sound quality and performance of your audio system.
A sealed enclosure is a simple and compact design that provides tight and accurate bass reproduction. Here's a step-by-step guide to help you build a sealed subwoofer enclosure:
Determine the enclosure size and dimensions: Consult the subwoofer manufacturer's recommendations for the ideal enclosure volume.
You can also use online tools or enclosure design software to determine the optimal dimensions.
Keep in mind that a smaller enclosure will result in tighter bass, while a larger enclosure may produce deeper bass.
Gather materials and tools: You will need the following materials and tools:
Medium Density Fiberboard (MDF) or high-quality plywood for the enclosure panels
Wood glue
Wood screws or dry wall screws
ilicone sealant
Speaker terminal cup or binding posts
Acoustic stuffing (optional)
Carpet, vinyl, or another material for enclosure finishing (optional)
Circular saw or table saw
Jigsaw
Drill
Screwdriver
Measuring tape
Sandpaper
Clamps
Router (optional, for a flush-mount subwoofer)
Lets Get Started
- Cut the panels: Cut the MDF or plywood panels according to the dimensions you determined earlier. You should have a front panel (with the cutout for the subwoofer), back panel, top and bottom panels, and two side panels.
- Make the subwoofer cutout: Trace the outline of the subwoofer's frame onto the front panel and use a jigsaw to cut out the hole. If you want to flush-mount the subwoofer, use a router to create a recess for the subwoofer's frame.
- Assemble the enclosure: Apply wood glue to the edges of the panels and secure them together with wood screws or drywall screws. i always use drywall screws. Use clamps to hold the panels in place while the glue dries. Make sure the enclosure is square and that all edges are flush. Remove any excess glue with a damp cloth.
- Seal the enclosure: Apply a bead of silicone sealant along the interior seams of the enclosure to ensure an airtight seal. This is important for the proper functioning of a sealed subwoofer enclosure.
- Install the speaker terminal: Cut a hole in one of the enclosure's side panels or the rear panel for the speaker terminal cup or binding posts. Secure it in place with screws.
- Add acoustic stuffing (optional): Adding polyester or polyfill stuffing can help dampen internal resonances and improve the subwoofer's performance. Use a light amount of stuffing to avoid over-damping the enclosure.
- Mount the subwoofer: Connect the subwoofer to the speaker terminal using speaker wire, then secure the subwoofer to the front panel with screws.
- Finish the enclosure: Sand the exterior of the enclosure to create a smooth surface. If desired, you can cover the enclosure with carpet, vinyl, or another material to match your vehicle's interior or your personal preference.
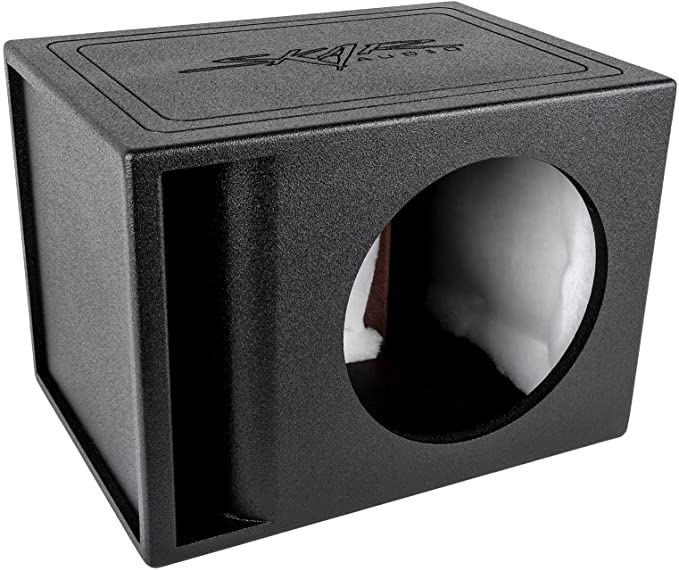
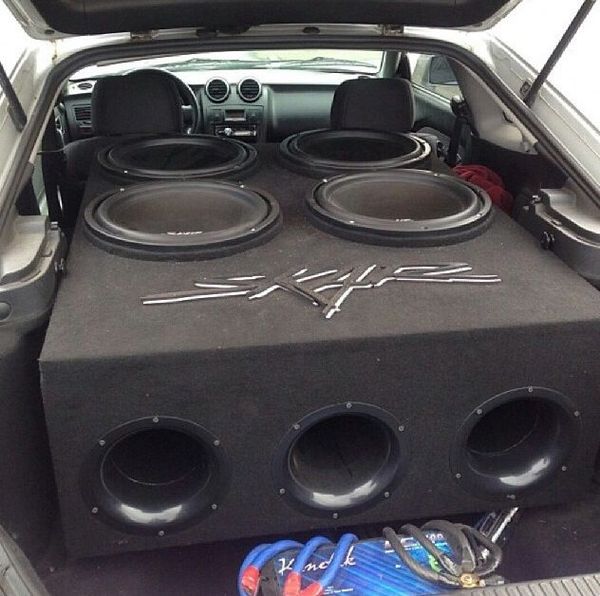
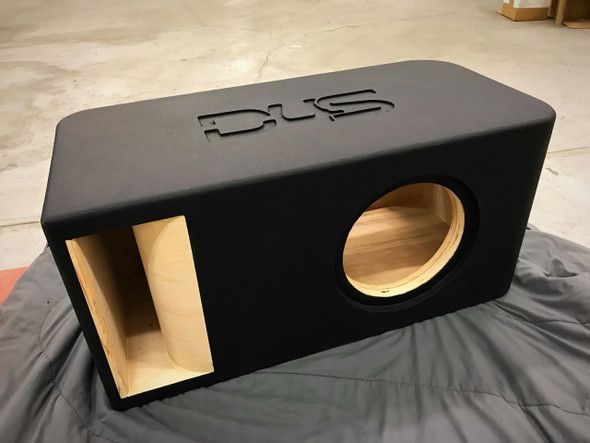
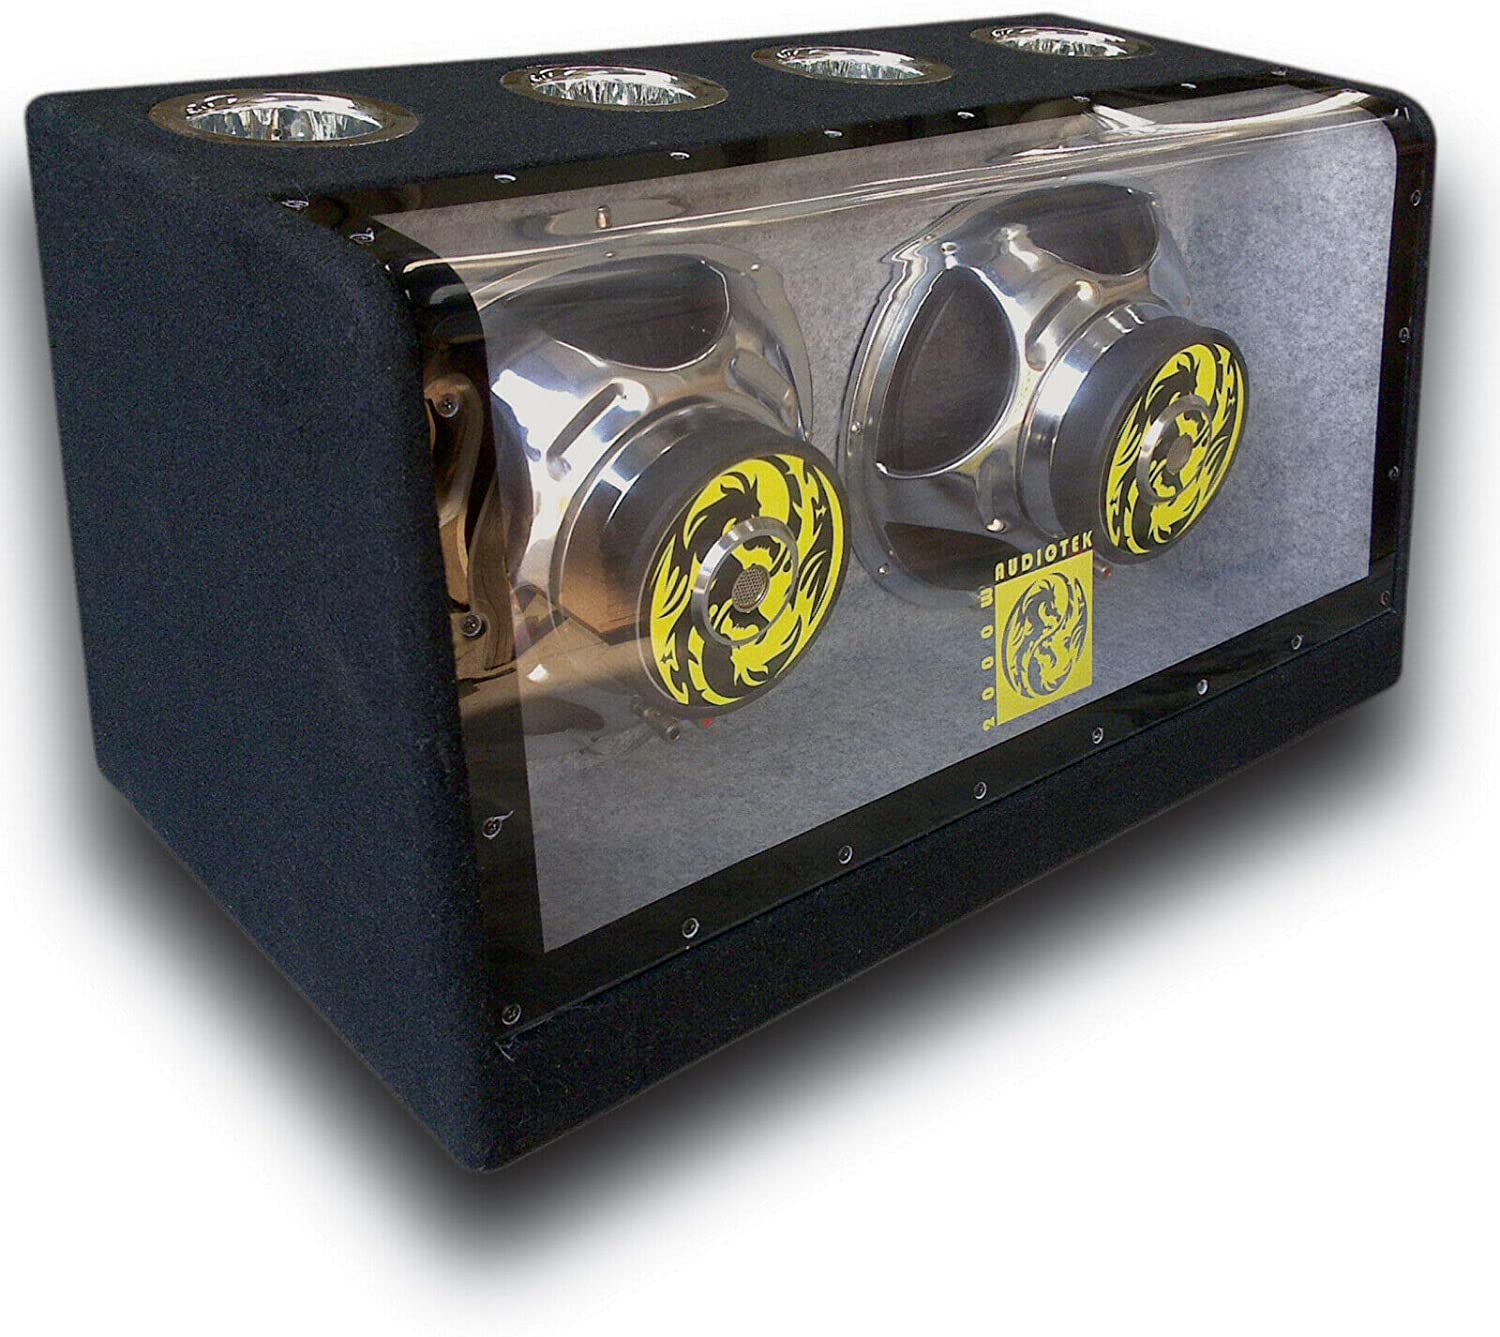
Ported Box
Ported boxes are designed with a vent or port that allows air to move in and out of the enclosure. This design increases efficiency and allows the subwoofer to produce more bass output than a sealed box.
If you're looking for something louder than a sealed enclosure, ported is the way to go. However, keep in mind that the increased loudness may come at the cost of sound accuracy and tightness.
Tuning a ported box or enclosure involves adjusting the dimensions of the port to achieve a specific resonant frequency, which determines the low-frequency response of the subwoofer. Properly tuning a ported enclosure ensures optimal performance and prevents over-excursion of the subwoofer at lower frequencies.
Determine the target tuning frequency: Consult the subwoofer manufacturer's recommendations for the ideal tuning frequency. Alternatively, you can choose a target frequency based on your listening preferences. Lower tuning frequencies (around 25-35 Hz) will produce deeper bass, while higher tuning frequencies (around 40-50 Hz) will result in punchier bass.
Calculate port dimensions: To tune the port, you'll need to adjust its dimensions (length, width, and/or diameter) based on the target tuning frequency and the internal volume of the enclosure.
The process is the basically the same as above but you going to include the port. Below are some formulas that will help get the proper port size.
However if you not good with math there are some software options that will make life easier.
You can use online port length calculators, enclosure design software, or the following formulas:
- For a round port: Port Length (L) = (23562.5 x (D/2)^2) / (Fb^2 x Vb) - 1.463 x D where D is the port diameter, Fb is the tuning frequency, and Vb is the internal volume of the enclosure in cubic feet.
- For a slot port: Port Length (L) = (47125 x A) / (Fb^2 x Vb) - 1.463 x (2 x A / P) where A is the port area (width x height), Fb is the tuning frequency, Vb is the internal volume of the enclosure in cubic feet, and P is the port's perimeter (2 x width + 2 x height).
- Adjust the port dimensions: Based on the calculations, adjust the length, width, and/or diameter of the port to achieve the desired tuning frequency. Keep in mind that changing the port dimensions will affect the internal volume of the enclosure, which in turn may affect the tuning frequency. You may need to iterate between adjusting the port dimensions and recalculating the tuning frequency until you reach the desired result.
- Build the port: Once you have determined the appropriate port dimensions, construct the port using MDF, plywood, or PVC pipe, depending on your chosen design. Make sure the port is securely attached to the enclosure and that its edges are sealed to prevent air leaks.
- Test the enclosure: After assembling the ported enclosure and mounting the subwoofer, test its performance by playing music or test tones at various frequencies. Listen for any unwanted noise or distortion, which may indicate issues with the port tuning or enclosure design. If necessary, adjust the port dimensions or enclosure construction to address any issues.
Remember that proper port tuning is crucial for the performance of a ported subwoofer enclosure. A well-tuned ported box will deliver efficient, deep, and controlled bass output while protecting the subwoofer from over-excursion.
Bandpass Boxes
Wanna get a little crazy? Build a bandpass subwoofer box!
Bandpass Boxes Bandpass boxes are a mix of sealed and ported designs, featuring two chambers - one sealed and one ported. The subwoofer is mounted between these two chambers, and the sound waves pass through the ported chamber to reach the listener.
Bandpass boxes can be the loudest of all three designs, but they tend to have a more narrow frequency range, which means they may not reproduce all the nuances of your music.
The sealed chamber isolates the rear sound waves, while the ported chamber allows the front sound waves to pass through the port.
There are two main types of bandpass enclosures: single-reflex (4th order) and double-reflex (6th order). Here are some detailed reasons you might choose to build a bandpass subwoofer box:
- High efficiency: A bandpass enclosure is designed to provide high efficiency in a narrow frequency range. This means that it can produce louder bass output with less input power compared to sealed or ported enclosures, making it suitable for situations where you want maximum output from a limited power source.
- Narrow frequency response: The bandpass design naturally filters out higher frequencies, resulting in a more focused bass response. This makes it ideal for emphasizing specific low-frequency ranges, such as in car audio systems where you want to enhance the "boom" without muddying the overall sound.
- Acoustic isolation: The sealed chamber of a bandpass enclosure isolates the subwoofer's rear sound waves, preventing them from interfering with the front sound waves. This can result in cleaner, more accurate bass reproduction and reduced distortion.
- Visual appeal: Some people prefer the aesthetics of a bandpass enclosure, as the subwoofer is often hidden from view, and the design can be more visually appealing compared to a standard sealed or ported box. This can be particularly important in car audio installations where appearance matters.
- Reduced subwoofer excursion: Bandpass enclosures can help limit subwoofer cone excursion at frequencies outside of the intended passband. This can protect the subwoofer from damage due to over-excursion and help maintain cleaner sound quality.
However, it's important to note that bandpass enclosures also have some Potential Drawbacks.
Things To Consider About Bandpass Boxes.
Complexity: Designing and building a bandpass enclosure requires more precision and attention to detail compared to sealed or ported enclosures. Mistakes in design or construction can lead to poor performance or increased distortion.
Size: Bandpass enclosures tend to be larger than equivalent sealed or ported boxes, which can make them challenging to fit in tight spaces, especially in car audio installations.
Limited frequency range: While the narrow frequency response can be a benefit, it can also be a drawback if you desire a broader bass range. Bandpass enclosures are not as versatile as sealed or ported designs in terms of frequency response.
In conclusion, building a bandpass subwoofer box can be an excellent choice if you prioritize high efficiency, focused bass output, and visual appeal.
However, be prepared to invest more time and effort into the design and construction process, and consider the trade-offs regarding size and frequency response.
Which Box Is the Loudest?
Now that we've covered the basics let's get down to the main question: which subwoofer box is the loudest? While bandpass boxes can produce the most volume, they may not be the best choice for everyone.
If you're into a specific genre of music or you're after the bass sound with broadest frequency range, a bandpass box may not be the best option.
If you're after a good balance between loudness and sound quality, a ported box would be your best bet.
It'll give you more volume than a sealed box, but without sacrificing as much sound accuracy as a bandpass box.
However, remember that the type of subwoofer, the power of your amplifier, and the available space in your car will also affect the overall loudness. So, be sure to take all these factors into consideration when choosing the right subwoofer box for your ride.
In Conclusion
As you can see, there's no one-size-fits-all answer to the "loudest" subwoofer box. It's all about finding the perfect balance between volume, sound quality, and space. Be sure to consider your personal preferences, your car's unique characteristics, and, of course, your budget. Personally i love ported and sealed boxes. Build it right or better yet skip the tuff stuff and trust the R&D of the professionals. Check out our other subwoofer reviews!!! laruesreviews.com