Building a Subwoofer Box for Two 15-Inch Subwoofers: A Comprehensive Guide
If you're a music enthusiast, you know that the sound quality of your car audio system can make or break your listening experience. One way to enhance your car audio is by building a subwoofer box for two 15-inch subwoofers. A subwoofer box is an enclosure that houses your subwoofers, designed to enhance their sound quality.
In this comprehensive guide review, we'll take a closer look at how to build a subwoofer box, the advantages and disadvantages of a DIY project, important things to consider, and tips to optimize your sound quality.
Selecting the Right Subwoofer Enclosures and Boxes
The first step in building a subwoofer box is to select the right subwoofer enclosures and boxes for your vehicle and subwoofers. You'll want to choose a sub box that is specifically designed for your vehicle and subwoofers, in order to ensure a perfect fit and optimal sound quality.
When selecting a sub box, pay attention to the net internal volume and tuning frequency. The net internal volume is the amount of space inside the sub box, and it should match the requirements of your subwoofers. The tuning frequency is the frequency at which your subwoofers resonate the most and should also match the requirements required of your subwoofers.
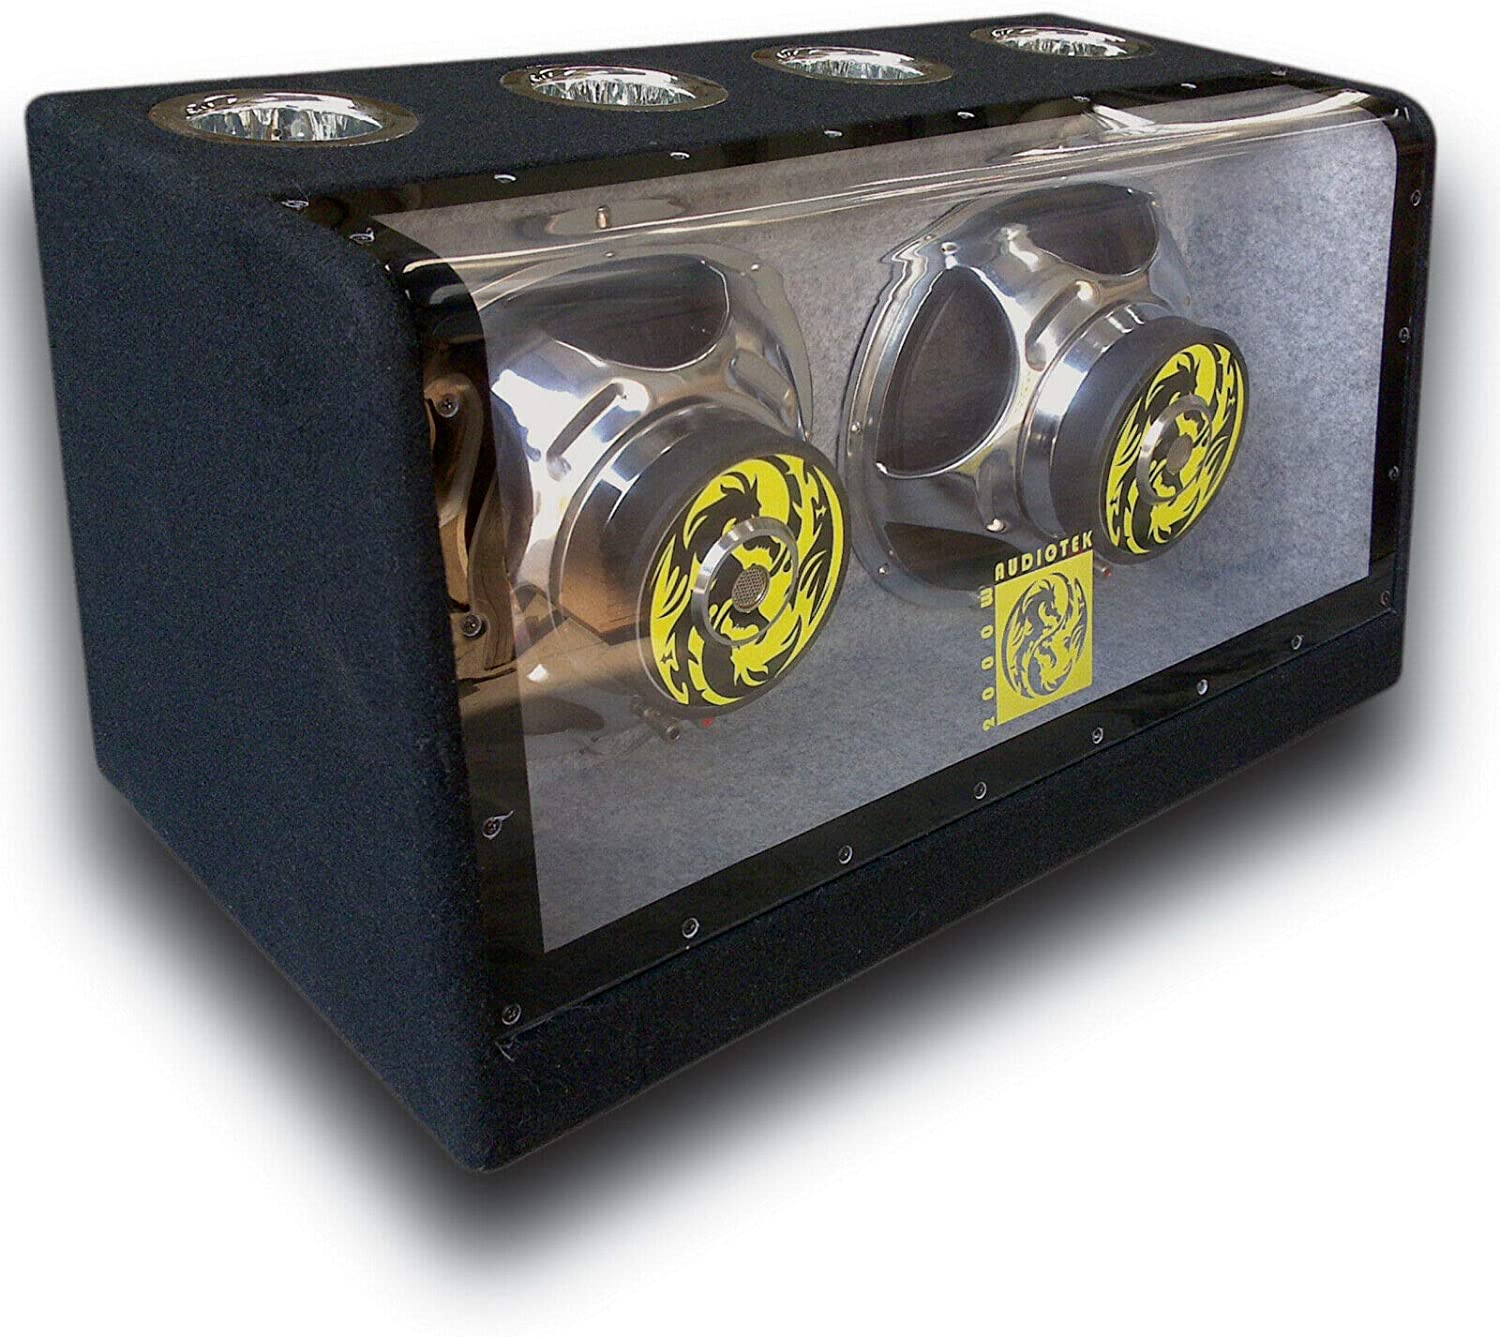
Some popular subwoofer box designs include sealed boxes, ported boxes, and bandpass boxes.
Sealed Boxes And Other Boxes
Sealed boxes are the simplest and most common type of sub box, but they offer less bass than other designs. Ported boxes are more complex and require tuning, but they offer more bass than sealed boxes. Bandpass boxes are the most complex and offer the most bass, but they can be expensive and challenging to build.
Pros and Cons of Building Your Sub Box
Building your sub box has advantages and disadvantages. One of the main benefits is that you can select the materials and components you want to use, which allows you to customize your sub box to your liking. Additionally, you can save money on the cost and price of the sub box itself.
However, building your sub box can be time-consuming, especially if you're not experienced in this type of work. It can also be challenging to ensure that the box is properly sealed, as any air leaks can decrease the speakers' sound quality. Furthermore, if you make a mistake, it can be costly to fix.
Before you start building, make sure you have the necessary tools and materials, and research the specific dimensions and requirements of your subwoofers, as well as the recommended net internal volume and tuning frequency for your sub box. It's also important to choose the right wood for your sub box, items such as MDF or birch plywood, to ensure optimal sound quality.
Building Your Sub Box: Step by Step
Once you've selected the right subwoofer enclosures and boxes, it's time to start building your sub box. Here's a step-by-step guide to building a subwoofer box for two 15-inch subwoofers
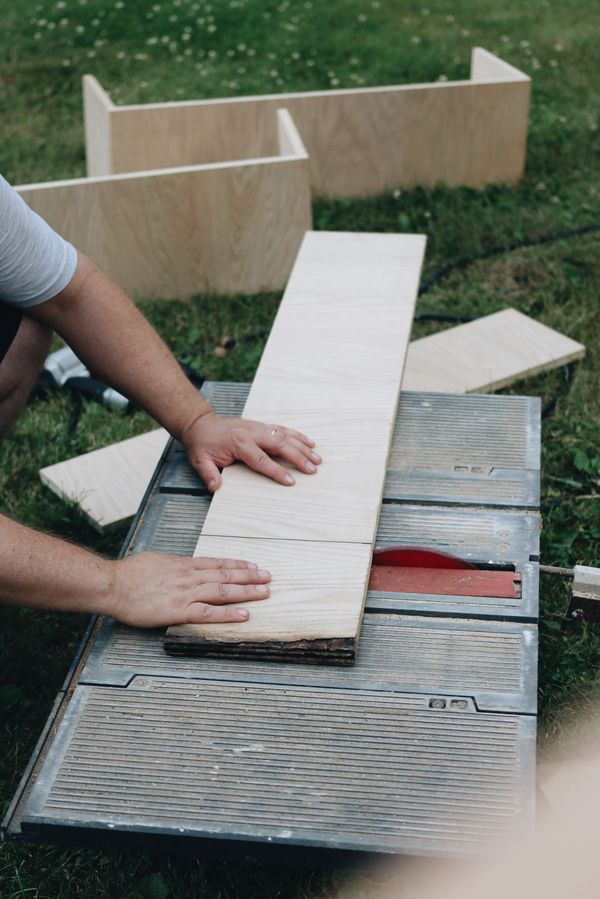
Step 1: Measure and Cut the Wood
Using your sub box design as a guide, measure and cut the wood for your sub box using a circular saw or table saw. Make sure to cut the wood precisely, and label each piece to ensure that you know which piece goes where.
Step 2: Glue the Wood Together
Using wood glue and clamps, glue the wood pieces together to create the sub box enclosure. Apply the glue generously, and make sure to clamp the wood pieces tightly to ensure a strong bond. Some of the best wood glue products can be found here.
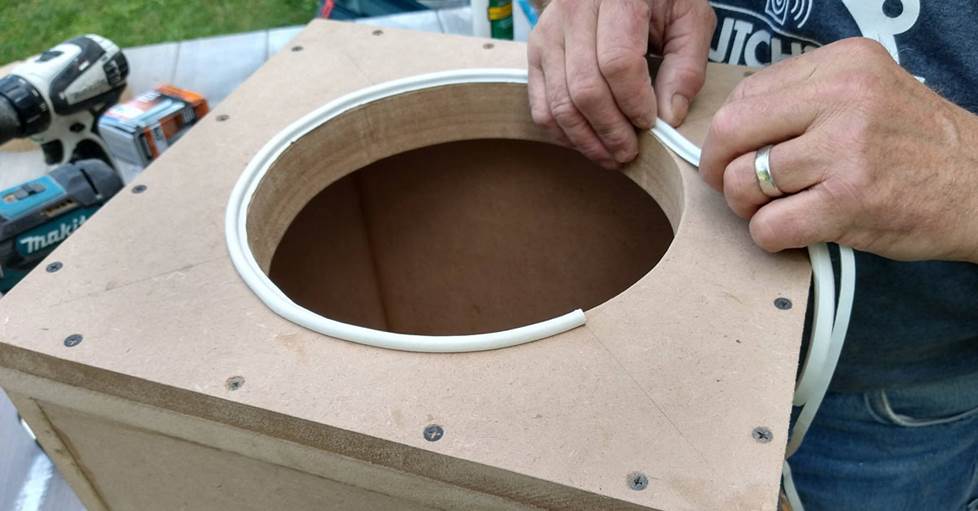
Step 3: Sand the Edges and Seal the Box
After the glue has dried, use sandpaper to smooth the edges of the sub box enclosure. If your using MDF I recommend a 320 grit sand paper. Make sure to sand the edges carefully to avoid any splinters or rough spots. Now screw the box together with drywall screws. I like to use an 1 1/4 inch screw every six to eight inches apart. Personally I would fiberglass resin the box inside and out a few times for added strength.
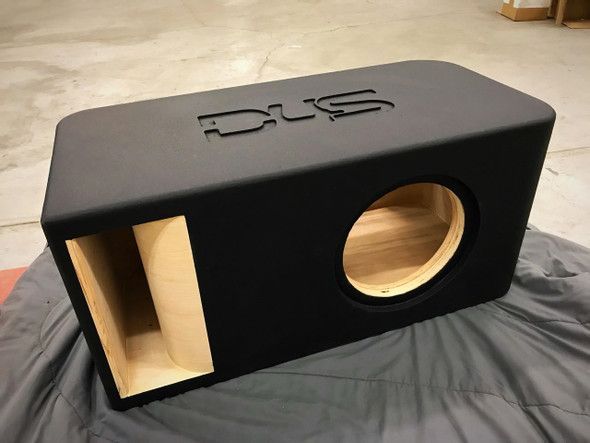
Next, seal the sub box using 100 silicone to ensure that it is airtight. Any air leaks can decrease the sound quality of your subwoofer, so it's important to take your time and ensure that the box is properly sealed. Now your ready to put the finishing touches like painting it or finishing it in carpet to match your vehicles interior carpet.
Step 4: Install the Subwoofers
Once the sub box is fully sealed, it's time to install the subwoofers. Follow the manufacturer's instructions carefully to ensure that the subwoofers are installed correctly. Make sure to secure the subwoofers tightly to the sub box enclosure, to prevent any rattling or movement.
Step 5: Test Your Sub Box
After the subwoofers are installed, it's time to test your sub box. Try playing different types of music to see how your subwoofers sound. If you're not happy with the results you hear, you may need to adjust the tuning frequency or net internal volume of your sub box.
Tips to Optimize Your Sound Quality
Once you've built your subwoofer box, there are a few tips you can follow to optimize your subs' sound quality:
- Install sound deadening material in your car to reduce external noise and vibrations.
- Choose high-quality music files with a high bitrate to ensure optimal sound quality.
- Avoid placing objects on or near your sub box that can cause vibrations or block airflow.
Building a subwoofer box for two 15-inch subwoofers is a great way to enhance your car audio experience. While there are pros and cons to a DIY project, with careful consideration of the dimensions and requirements of your vehicle and subwoofers, and selecting the right components and wood, you will find you can end up with a great sub box that fits your requirements perfectly.
Just remember to take your time, ensure that the box is properly sealed, and test your sub box with different types of music to ensure optimal sound quality. With these tips in mind, you can enjoy your brand new subwoofer box and improved car audio experience.
Thanks for taking the time to stop in and check out our articles here at laruesreviews.com!!!